

How to Create Product Variations in ClickFunnels 2.0
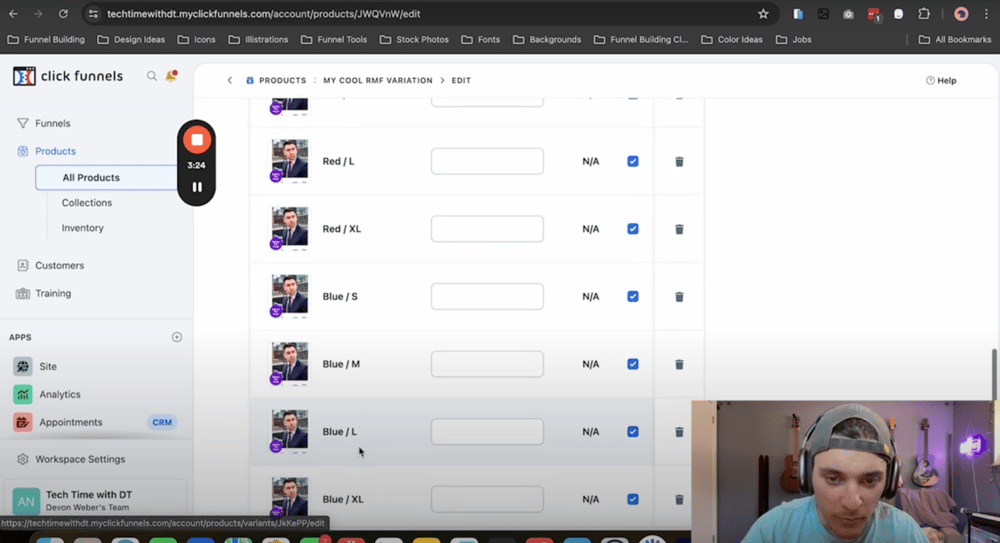
Hey everyone! In this guide, I am going to show you how to set up product variations inside of ClickFunnels 2.0.
Step 1: Create a Funnel For Testing
- In this example you can we start with the end in mind and create the funnel that we will be using for testing, first. The minimum needed would be an Order Form and an Order Confirmation page.
Step 2: Create a Product
- Go to the all Products tab.
- Go to the All Products tab.
- Click the Create Product Button.
Step 3: Name and Give Your Product a Price
- For this example I have created a digital product, though if you find it necessary physical products are available to use.
- Once you give your product a name you can also give it an initial price.
Step 4: Select Your General Product Image
- Under the Images section click the "Select Images" section.
- Upload your general image for this product.
Step 5: Check off the Variations Checkbox
- Under the Variants section check the box that says "This product has multiple options, like different sizes or colors."
Step 6: Create Your Variants
- Create your specific variants for this product like size or color.
- Once finished click the "Update Product" button.
Step 7: Override Images and Price Points (If Applicable)
- Now that the product variations are created, underneath the variations section there is an edit variations option, where you can override things such as images and product price for each product variation if applicable.
Step 8: Add Your Product to Your Order Form
- Inside of your funnel on the Order Form step you will see a biohazard symbol, this is in place to let you know that products are not yet created on a step that is expecting products; click This option.
- Click the "Add Product" button.
- Select your product that has been created.
Step 9: Test Your Funnel
- To test your funnel we recommend using an Incognito or Private window as it helps show your most recent updates to your funnel. [Command Shift N on a Mac or Control Shift N on a PC].
- With Your funnel in test mode, you will see a test card that you are able to use "4111-1111-1111-1111."
- Any future date can be used.
- Any 3 digit CVV code can be used.
Bonus: Steps to Put Your Funnel in Test Mode
- Inside of your funnel overview to the Settings button.
- Under Test Mode Check "Yes."
- Click the Update Funnel button.

Conclusion
That's it! You've successfully learned how to create product variations inside of ClickFunnels 2.0. If you have a tool or topic that you would like us to cover in our next blog, email us at support@repairmyfunnel.com to let us know!

Howdy, I'm Tyson
Owner Of Repair My Funnel
Growing your service business online shouldn't feel overwhelming or confusing. That's exactly why I created Repair My Funnel.
I've spent years mastering ClickFunnels and digital marketing systems, but more importantly, I've learned how to translate that expertise into simple, clear guidance for business owners who just want their online presence to work. My mission is helping established service businesses build professional websites, effective funnels, and reliable systems that attract and convert more clients without the tech stress.
Here on the blog, you'll discover practical strategies from our proven 5-pillar framework covering everything from building a solid website foundation to creating content that drives organic traffic. Whether you're a coach, contractor, wellness professional, or local service provider, you'll find step-by-step guides and real-world tactics designed specifically for service businesses like yours.
Ready to get actionable insights delivered weekly? Join the Spark & Scale Newsletter where I share my best strategies to help you attract more clients, streamline your systems, and grow your business with confidence.
Featured Articles
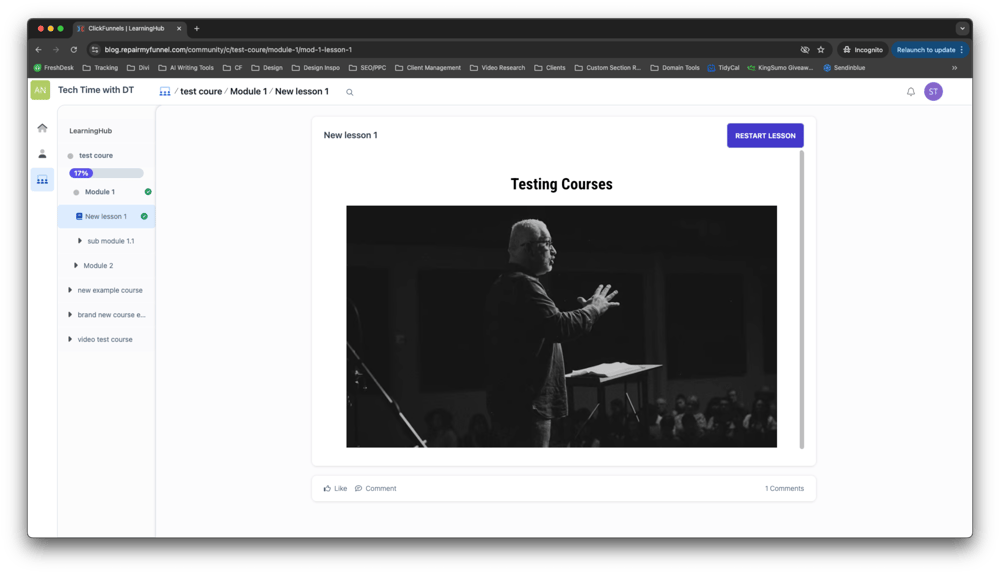
Learn how lesson tracking in ClickFunnels 2.0 can enhance your students’ learning experience by keeping them organized and on track. This guide covers everything from how the built-in tracking works to customizing progress checkmarks to fit your course’s style. Whether you’re using the default Learning Hub or a custom course setup, discover how to make the most of this feature to improve course completion rates and ensure your students never lose their place.
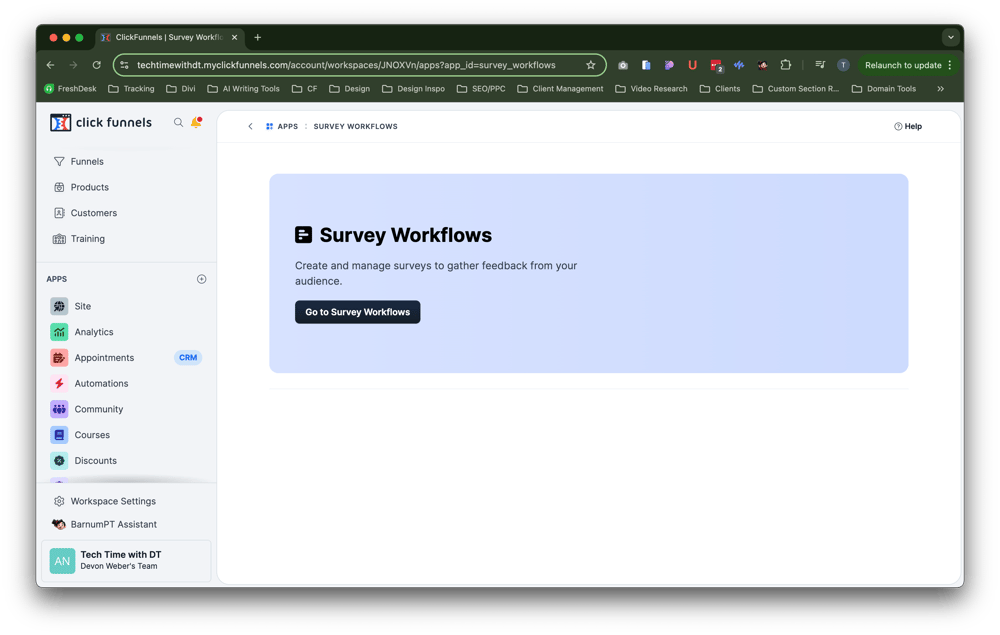
Discover how to easily view and manage all your survey responses in one convenient location with ClickFunnels 2.0. This guide walks you through accessing the new Submissions Overview feature, offering tips on how to use your survey data to optimize your marketing strategies.
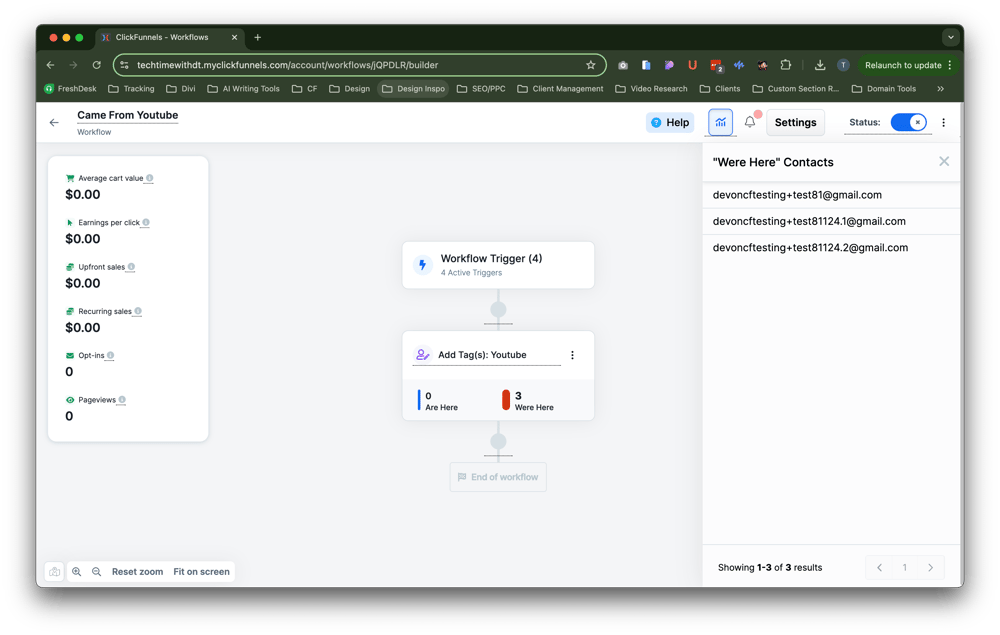
Discover how to effectively track user progress in your ClickFunnels 2.0 workflows with this comprehensive guide. We’ll walk you through the steps to enable workflow stats, monitor where users are within your funnel, and interpret the data to make informed decisions. Whether you’re troubleshooting issues or looking to optimize your marketing strategies, this step-by-step guide will help you gain valuable insights into your workflow’s performance and ensure your leads and customers are moving smoothly through your sales process.

Discover how to efficiently manage your appointments with TidyCal, the affordable alternative to Calendly. This complete walkthrough covers everything from setup to advanced features, helping you streamline your scheduling process and boost productivity.

Latest Posts
Sunday, September 29, 2024
Sunday, September 29, 2024
Monday, September 23, 2024
RepairMyFunnel.com, a DT Designs LLC Product ■ All Rights Reserved © 2024-2025 ■ 1212 5th Ave N, Apt 2, Seattle, WA 98109
Privacy Policy - Terms - Disclaimer - Contact